How to photograph the 2027 solar eclipse: phone and camera
Updated 16 October 2026 · 6 min read
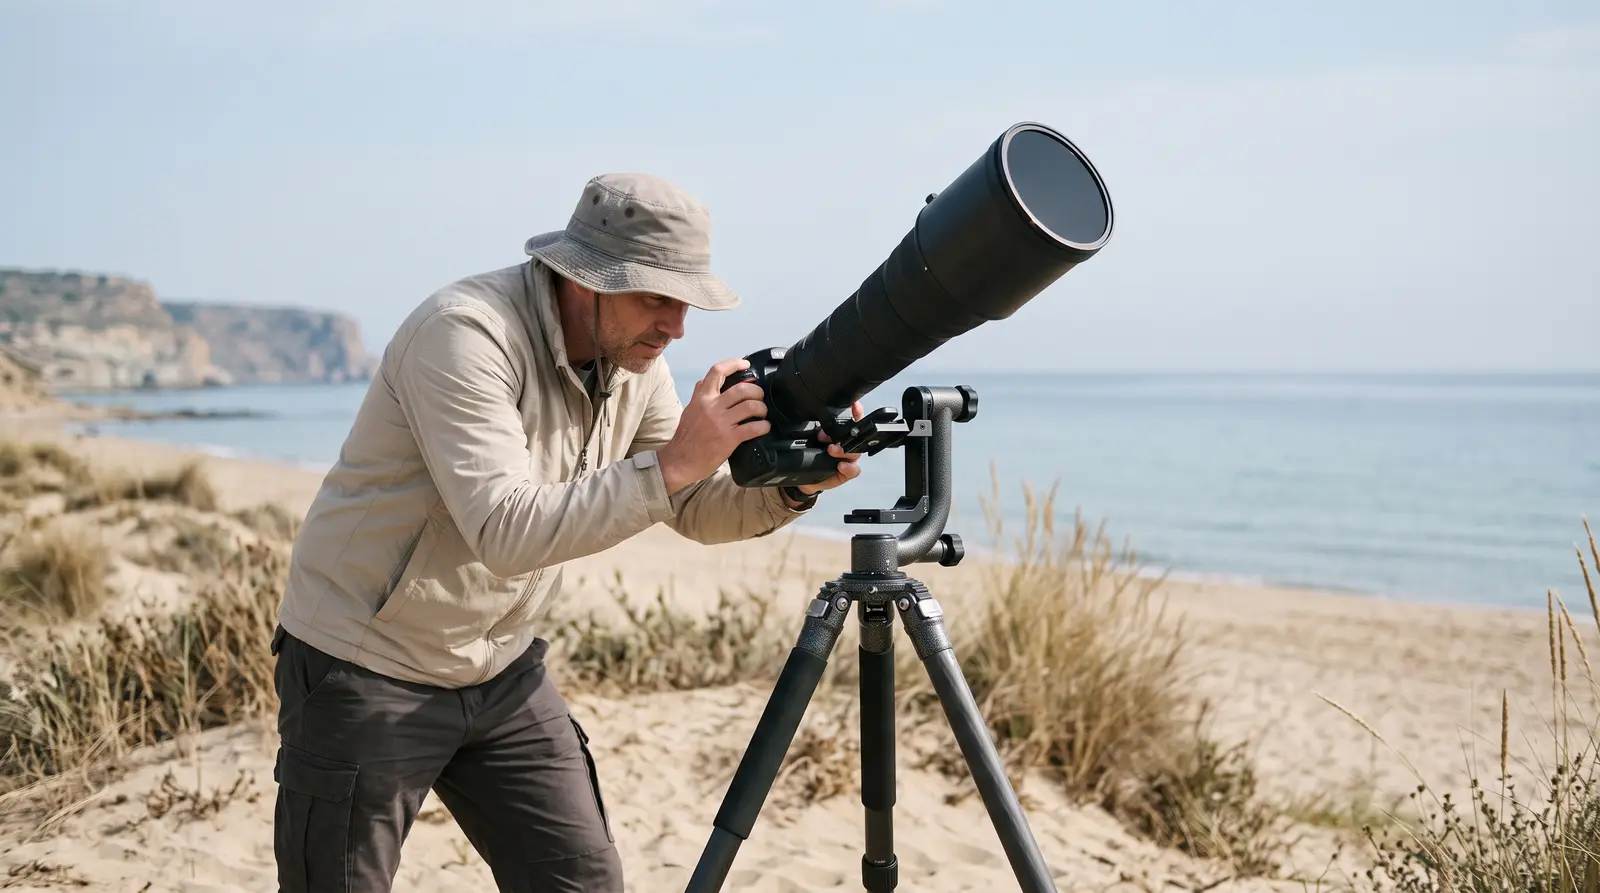
To photograph the 2 August 2027 eclipse, keep a proper solar filter on the front of your lens or phone during every partial phase, take it off only during totality, and bracket your exposures to capture the corona. A phone on a tripod is enough for a wide shot of the scene; detail in the corona needs at least a 300 mm lens. Practise on the ordinary Sun in the weeks before, and keep the plan simple enough that you still watch totality yourself.
Totality on the Spanish coast is short (2m55s in Cádiz, 1m53s in Málaga, 4m28s in Algeciras), so settle your settings before the day.
Which filter do cameras and phones need?
A camera lens or telescope concentrates sunlight. NASA warns that looking through unfiltered optics at the partially eclipsed Sun “will instantly cause severe eye injury”, and that the concentrated light will burn through eclipse glasses or a handheld viewer held behind the optics.
- Put the filter on the front. NASA and the American Astronomical Society (AAS) both say solar filters must be attached to the front of any camera lens, binoculars or telescope, so sunlight is reduced before it enters the optics; a filter at the eyepiece or behind the lens receives the concentrated beam. AAS adds that this also protects the instrument from intense sunlight and heat.
- Use a filter made for the Sun. NASA and AAS both specify a special-purpose solar filter; do not improvise with other photographic filters. NASA advises asking an experienced astronomer before using a solar filter on optics.
- Do not combine optics with eclipse glasses. The glasses protect your eyes when you look directly at the Sun; they do not make an unfiltered viewfinder or telescope safe.
- Filter your phone too. AAS advises covering the phone lens with solar filter material during the partial phases.
For your own eyes, use ISO 12312-2 eclipse glasses whenever you look at the partial Sun. The full rules are in how to watch the eclipse safely.
When to remove and replace the filter
AAS says solar filters must stay on cameras and telescopes during all partial phases and come off only during totality.
- Off at second contact, when the last bead of sunlight disappears: 10:45:21 CEST in Cádiz.
- Back on at third contact, when the first bright point returns: 10:48:16 CEST in Cádiz.
AAS recommends a filter that fits snugly but comes off quickly, and warns that screw-on filters are hard to remove and replace fast at the start and end of totality. Times for your town are on its city page; they may shift by 1 to 3 seconds because our calculation ignores the uneven edge of the Moon.
Phone or camera?
Phone
On a phone’s wide lens the eclipsed Sun is a small dot, so use it to record the scene: the darkened sky, the glowing horizon and the people around you. AAS suggests:
- Filter the lens for the partial phases.
- Zoom optically if your phone has a telephoto camera, and turn off digital zoom.
- Use HDR and keep the phone steady, ideally on a small tripod or clamp.
- Try video. Prop the phone facing your group and record from a minute or two before totality to a minute or two after; the sound and the change in light often show more than a still.
Camera
With an interchangeable-lens camera you can show the corona in detail. AAS notes that a normal 50 mm or wide-angle lens will not show coronal detail; for a moderately large Sun you want at least 300 mm (35 mm equivalent). For close views of Baily’s beads, the diamond ring, the chromosphere and prominences, AAS points to focal lengths of 1,000 mm or more, which means a telescope.
The corona extends well beyond the Sun’s disc, and a very long focal length may crop it. Test your framing on the filtered Sun beforehand.
Focal length options
| Setup | Focal length (35 mm equiv.) | What it shows |
|---|---|---|
| Phone main camera | wide | Landscape, sky, crowd, horizon glow |
| Standard zoom | about 24-70 mm | Scene with the eclipsed Sun as a small disc |
| Telephoto | 300 mm and up | Corona structure around the Moon |
| Telescope | 1,000 mm and up | Prominences, chromosphere, Baily’s beads |
On 2 August 2027 the Sun stands 37-41° above the eastern horizon along the Spanish coast, so a wide shot can include buildings or the sea below it.
Settings for the partial phases
Use manual exposure. AAS gives a starting point for the filtered Sun: ISO 100 to 200, f/8, and test shutter speeds around 1/500 to 1/4000 s. The right value depends on your filter, so test these numbers rather than copy them. The edge of the Sun is a little darker, and AAS suggests about one stop more exposure there.
Focus manually. AAS recommends focusing on sunspots if there are any, or on the edge of the Sun, then taping the focus and zoom rings with masking tape so they do not drift.
Settings for totality: bracket the corona
The corona is very bright near the Sun and very faint further out, and no single exposure records all of it, so shoot a bracket: the same ISO and aperture, with shutter speeds stepping from fast to slow. AAS guidance:
- Set ISO and aperture in advance and leave them. Suggested tests: ISO 400, 800 or even 1600, at around f/5.6 or f/4. Avoid auto ISO.
- Change only the shutter speed. Start at about 1/1000 s or faster for the inner corona and prominences.
- Lengthen it step by step for the outer corona, perhaps to a few tenths of a second if the setup stays steady.
- AAS shows an example corona composite shot from 1/1600 to 1/13 s at ISO 640 and f/10.
An automatic exposure bracketing mode shoots the sequence with one press. Test it on the filtered Sun beforehand, then run it a few times during totality.
Tripod, release and stabilisation
A solid tripod matters most for long telephoto lenses and the slower corona exposures. A cable or wireless release, or the self-timer, avoids shake from pressing the button. AAS notes that image stabilisation helps hand-held but some systems cause jitter on a tripod, so test both settings at home.
Practise on the Sun beforehand
AAS recommends photographing the ordinary Sun, filter on, in the days and weeks before, with a full rehearsal using all your kit. Practise:
- Finding and framing the Sun at your chosen focal length.
- Focusing and taping the rings.
- Taking the filter off and putting it back on quickly, without moving the camera.
- Running your bracketing sequence.
If you can, practise at around 10:45 CEST. In the weeks before, the Sun will be at a similar height to eclipse morning in Andalucía, and you will see how the light falls on your spot.
A simple plan for 2 minutes of totality
- Before second contact: camera on tripod, filter on, framed and focused, bracketing set. Glasses on.
- At second contact: filter off, start the bracket sequence, then step back from the camera.
- Middle of totality: look at the corona and the horizon with your own eyes. Run the sequence once more if there is time.
- Before third contact: filter back on before the first bright point returns. Glasses on.
Watch it with your own eyes
AAS ends its photography advice with a reminder to look at the eclipse. Totality on the Spanish coast lasts between one and five minutes; for a first total eclipse, a phone video on a tripod and your eyes on the sky is a good plan. For what to look for, read what you see during totality. To pick a place and compare durations, use the map and the historical odds on the clear skies page.